
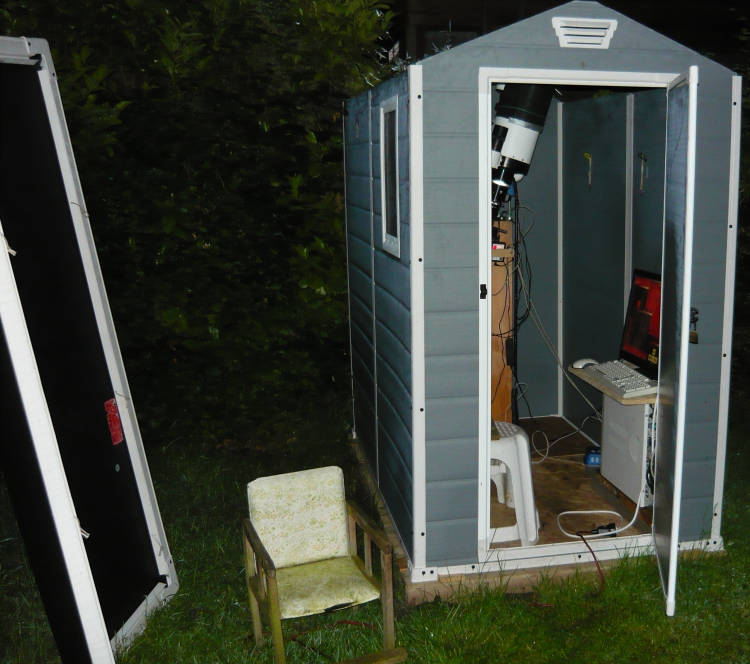
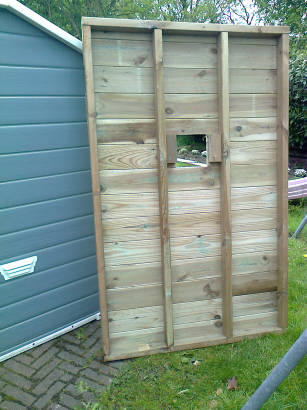
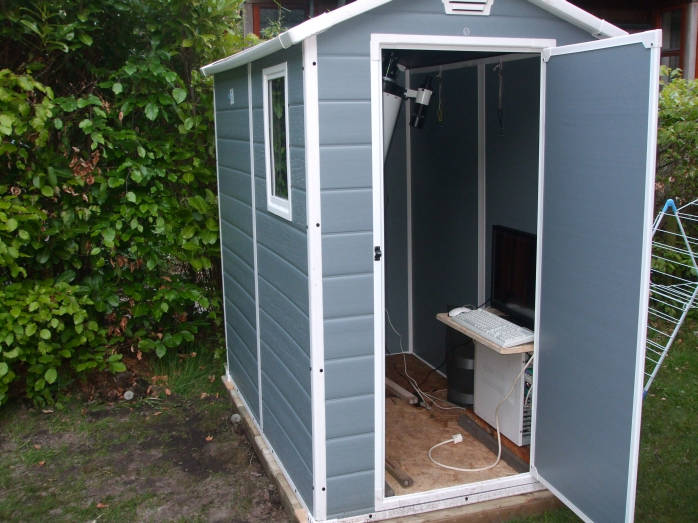
A note about this shed. As another customer described: "when you first open the box you will be slightly traumatized. The material seems cheap and flimsy ...but??. After assembling it comes together...." In my eyes reasonable. The width is just okay for my 6" GSO RC to move around freely. The polypropylene will last long but it is very flimsy. The roof is made out of one piece and absolutely rain tight. The shed is screwed together with metal screws and like a karton box, only after the assembly it gets some strength and hopefully will last for some years.
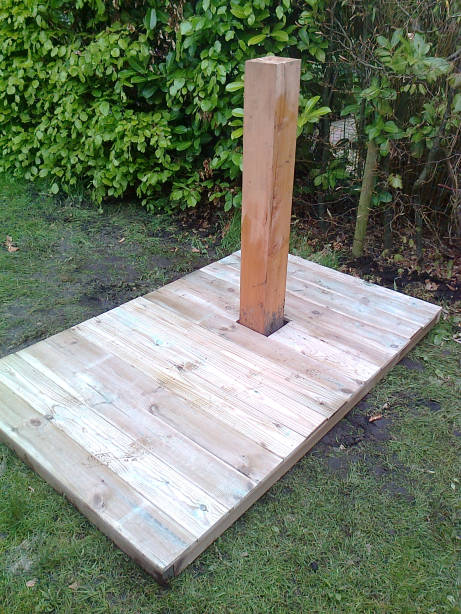
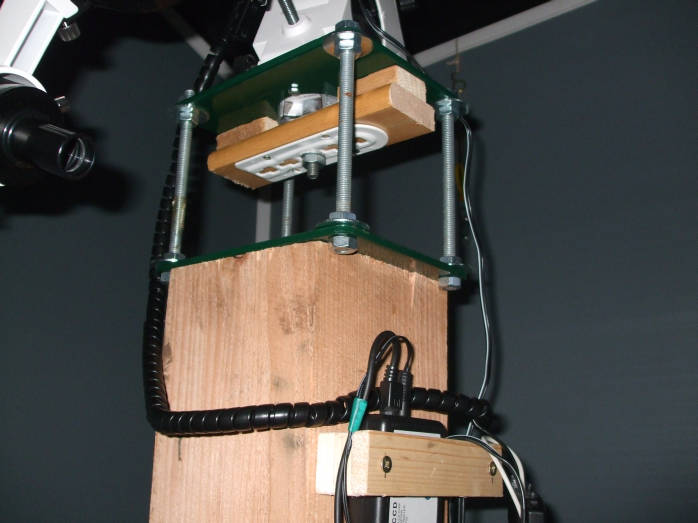
The HEQ5pro pier top is based on two thick steel plates, 200 x 150 x 6 mm. The two retangle plates including the main 60 mm hole for the HEQ5 Pro where ordered at a local machine shop for Euro 43. Further drilling, machining and painting was done at home to save costs. The bottom plate is screwed with four "lag bolts" to the pier. To prevent the wood splitting, the holes for these bolts where predrilled and placed not to close to the sides.
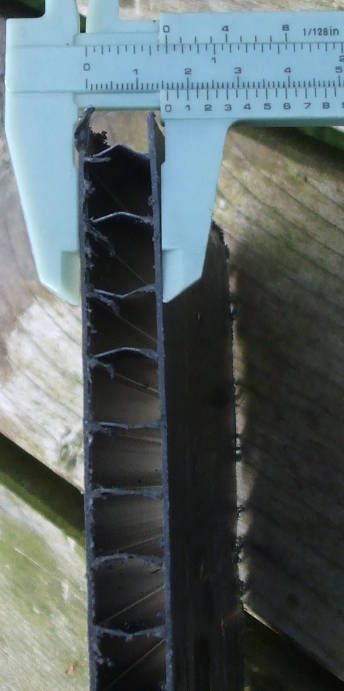
The cut-out of the bottom plate shows the fluted polypropylene sheet material used. The walls, roof and bottom are all from the same material except for the color. As in this picture shown, under high load the thinner connections tends to bend and slightly deform. Fluted polypropylene sheets are also called twin wall polypropylene sheets or corrugated PP hollow plastic sheets.
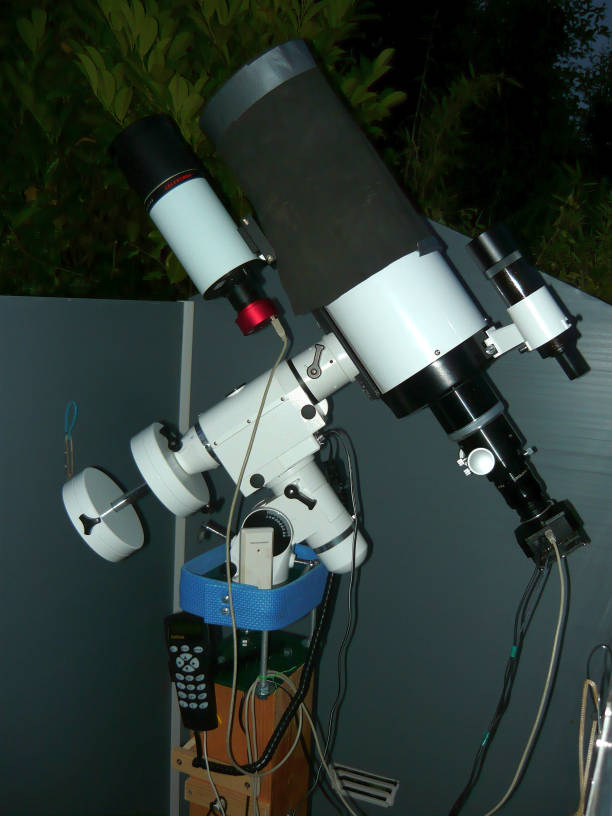
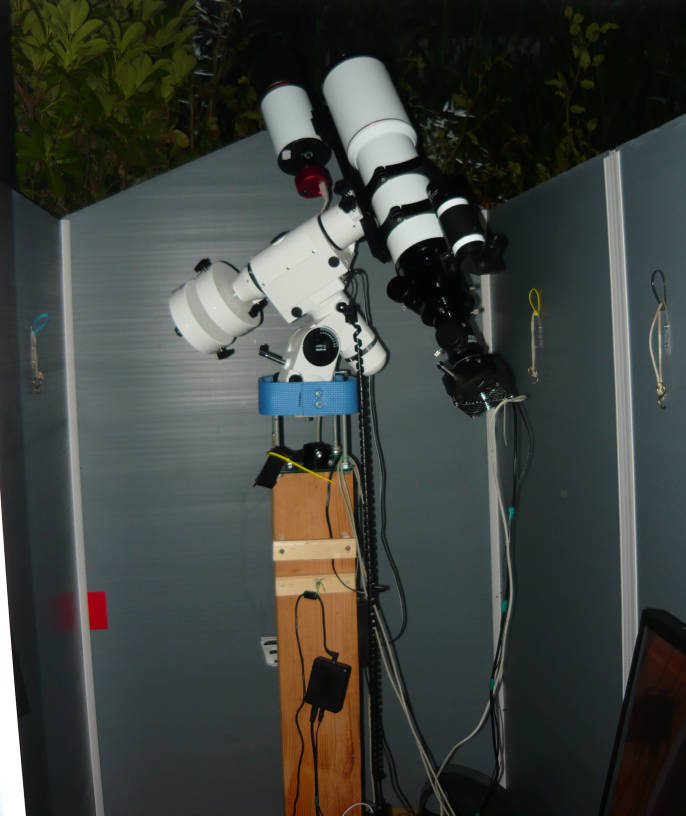
The telescope and mount after the roof is removed. Left the GSO RC 6" on the HEQ5pro mount. Right the Imaging star 100Q APO. An old Celestron 90 mm F/5.6 Maksutov is used for guiding:
Building the shed took one holiday week. Total building material
costs where around Euro 500,- I'm still happy with the shed after
18 months use. The is a slight deformation in the top of the front
and back wall but not seriously. Maybe after a few
years, I will build it a little bigger wooden "batwing"design shed
using light weight fluted plastic sheets for the roof cover.
Note the extension tube of the GSO RC is now removed and distance between flattener and CCD chip is increased 72 mm.
December 2014, due to the high humidity everything was get soaking wet in the early morning hours. I have now two dew heaters 12v 8 watts innstalled for the main and guiding telescope. Without it, after 6 hours or so imaging, the optics facing the sky become so cold that dew starts to form on the optics.
In April 2015, I added an additional earthing of the 12 volt DC minus pole (outer connection power supply) of the two switching power supplies in use. Both introduced some very low energy but the high voltage which was starting to irritate me giving me a very very light electrical shock while switching USB cables A screwdriver with a main supply neon light tester was lit by the 12 Volt DC power supply outlet only!!! This indicated high voltage leak which is not uncommon for these power supplies. A multimeter could not detect it. As an extra precaution, I hammered in the outside ground an extra 80 cm grounding and connected it using electrical equalizing line to the computer housing and minus of 12V DC connections. The mandatory electrical earth from the 230VAC power supply was already in place however I did found a loose connection inside the living room of the house.
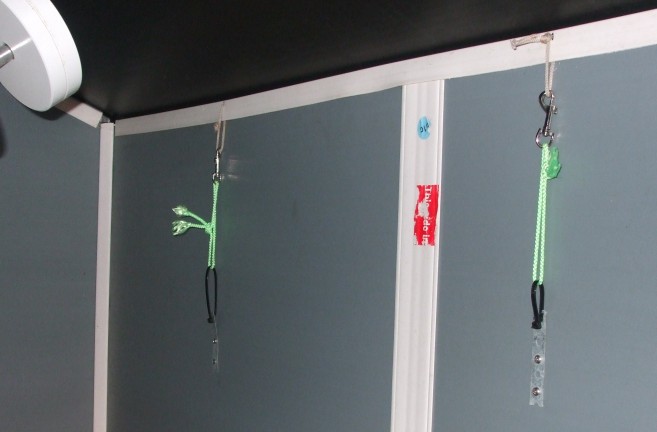
Cables to the pier are wired through a 50 mm PVC tube bolted to the ground plate for tidiness.Similar use of the same shed by other users:
amazon customer This seems a stronger version but about the same size
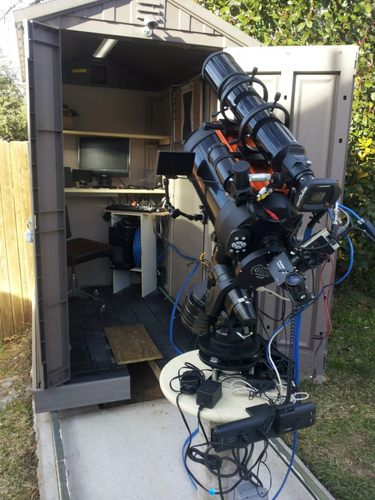
In 2017 this design was replaced. It was performing fine, but I liked to have more space and a stronger building. See link below.
Last update October 2015
Email: ![]()